20. Scripting#
NaxToView contains an embedded Python console that allows users to execute Python commands, launch Python scripts, and execute application functions.
NaxToView includes functions designed to be executed from the scripting console.
20.1. Basic Usage#
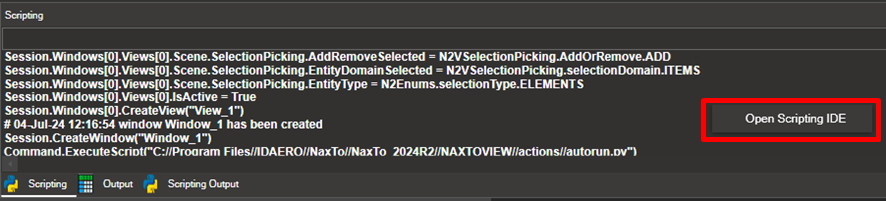
Most actions performed in NaxToView produce the equivalent command in the scripting console.
Example: To select elements in the model:
Set Item to Elements
Hold Shift + right-click and drag to select elements
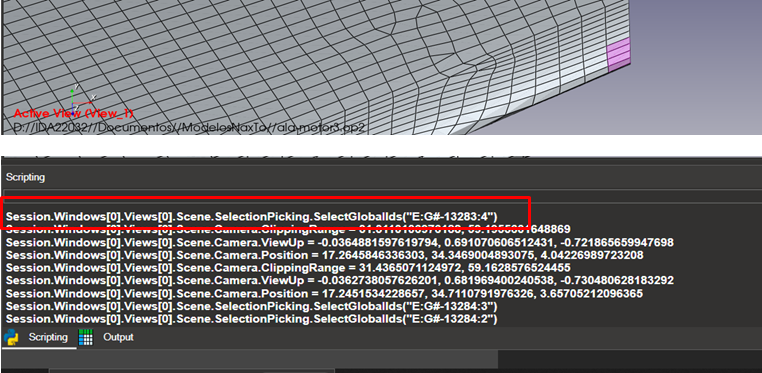
The command Session.Windows[0].Views[0].Scene.SelectionPicking.SelectGlobalIds(<…>) appears in the console. If you clear the selection and execute that command, the same elements will be selected.

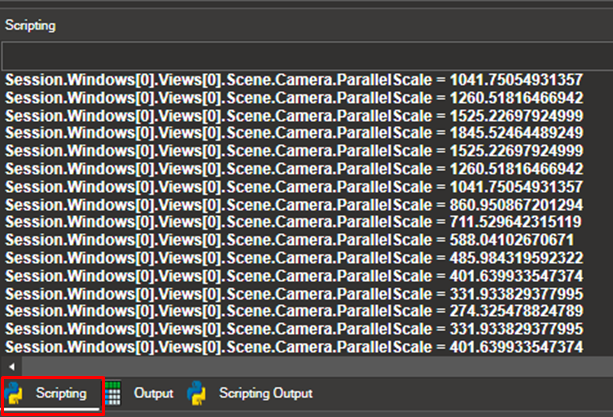
The Clear button clears the scripting console output.
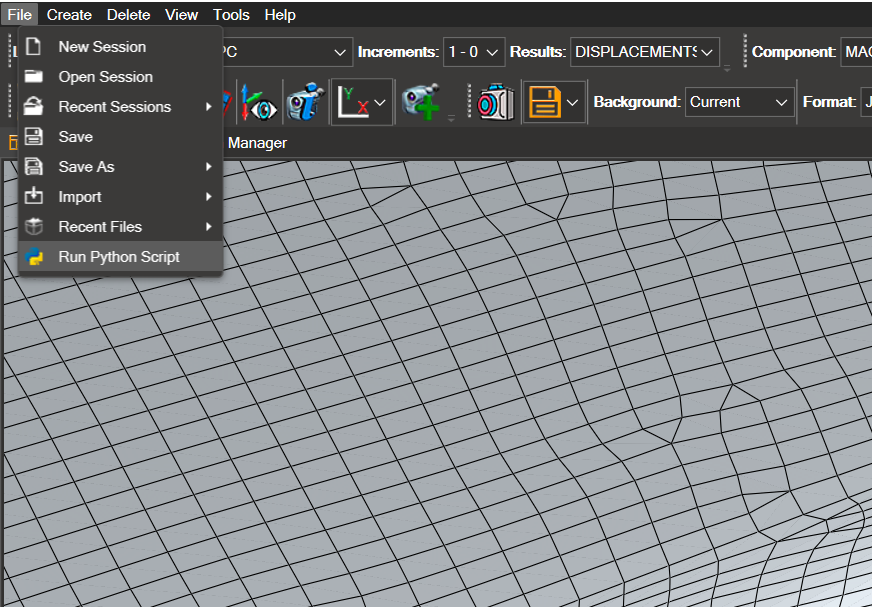
This is useful for automating tasks. More complex tasks can be executed using File → Run Python Script.
Note
If the selected elements do not appear highlighted in the viewport, the viewport has not refreshed after the scripting command. Click anywhere in the 3D viewport to force a refresh.
20.2. Application Overview#
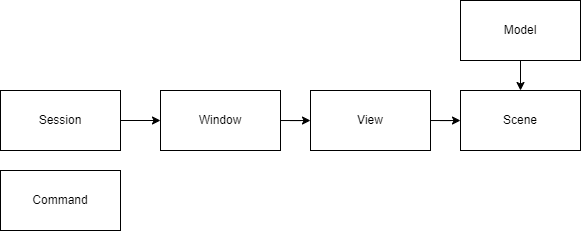
Understanding the application hierarchy is essential for using scripting methods as intuitively as the GUI.
The scripting console provides access to two scopes:
Command: Provides built-in methods for executing scripts. For example:
Session: Contains all the information and methods accessible to users
The architecture overview is as follows:
20.3. Detailed Functionality#
Loading a New Model#
Case 1: Load from a new session (i.e., NaxToView has just started)
NaxToView creates a new Window, View, and Scene to store the model. If a scene with a model already exists, the new model replaces it.
Case 2: A session with an existing model is already open. Load a model in a specific view.
Create a new view in the first window:
Session.Windows[0].CreateView("New view")
Load a model in the newly created view:
Session.Windows[0].Views[1].LoadModel1FEM(r"C:\Models\wind3.op2")
Selection of Elements and Nodes#
Entities can be selected in two ways:
Global IDs (used internally by the rendering engine)
Solver IDs — always composed of a superelement (or part) and an element/node ID
ID encoding: NaxToView encodes ID ranges as strings for ease of use. The string begins with control characters:
'E'or'N'— indicating whether elements or nodes are being selected':'and'S'— for solver selection
The string begins with '#Part_<part id>@' followed by the compressed ID string. Each range is defined with :, and each group is split with ,.
Example: IDs 1, 2, 3, 6, 7, 8 would be encoded as "1:3,6:8"
The following example selects elements 34750 to 34760, and 34800 to 34806:
Session.Windows[0].Views[0].Scene.SelectionPicking.SelectGlobalIds("E:S#Part_0@34750:34760,34800:34806")
Creation of Macros#
Users can create custom macros in NaxToView. Macros execute scripts directly from the application interface.
Macros can be created in two ways:
Option 1: Create from the User Interface#
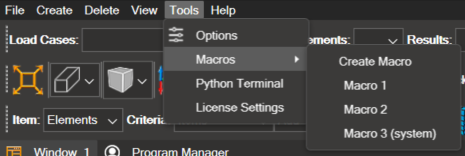
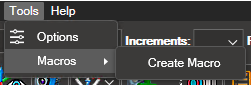
Click Tools → Macros → Create Macro
In the dialog, define:
The macro name
The script to execute (either a new script or an existing script file)
Whether it should be available for all users
Click OK
The Scripting IDE opens with the script selected for the macro
Option 2: Create via Scripting#
Place the script file in the macros folder:
User-specific:
%LOCALAPPDATA%\IDAERO\NaxTo_<version>\macrosSystem-wide:
C:\ProgramData\IDAERO\NaxTo_<version>\macros
Create the macro from the scripting console:
# User-only macro
Session.CreateMacro("First macro", "Test.py")

# System-wide macro (available to all users)
Session.CreateMacro("First macro", "Test.py", system_macro=True)
This stores the new macro in macro_dict.xml so it is available on the next application launch.
Note
Script files must have the .py extension and unique names. If a macro with the same name already exists, the creation will fail.
Managing Macros#
Once created, the macro appears in the Tools → Macros menu.
Right-click the macro to delete it or open the Scripting IDE to edit it. Deleting a macro removes it from macro_dict.xml, but the associated script file remains in the macros folder.
Alternatively, manage macros via the scripting API:
Session.EditMacro("NameOfMacro")
Session.DeleteMacro("NameOfMacro")
Session.RenameMacro("NameOfMacro", "NewName")
To move a macro between the AppData and ProgramData folders:
Delete the macro using
Session.DeleteMacro("NameOfMacro")Move the script file to the target folder
Recreate the macro with
system_macro=Trueif moving to ProgramData
Loading Scripts on Startup#
You can define actions to execute on application startup.
Add the commands to the autorun.py script in the actions directory:
User-specific:
%LOCALAPPDATA%\IDAERO\NaxTo_<version>\actionsSystem-wide:
C:\ProgramData\IDAERO\NaxTo_<version>\actions
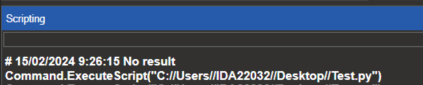
To execute a specific script on load, add the following to autorun.py:
Command.ExecuteScript(r"C:\path\to\script.py")
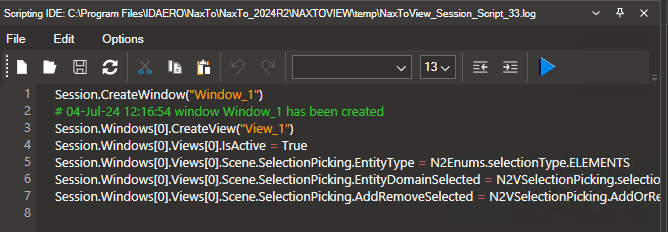
20.4. Scripting IDE#
The Scripting IDE allows you to create and run Python scripts within NaxToView. Scripts can range from simple command sequences to complex automation workflows with custom interfaces and buttons.
Opening the Scripting IDE#
The IDE can be opened in three ways:
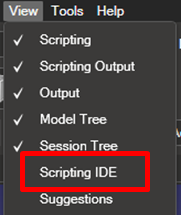
1. Via the View menu:
Click View → Scripting IDE
2. When creating a macro:
Click Tools → Macros → Create Macro
3. From the scripting console:
Right-click in the scripting console and select Open Scripting IDE
The Scripting IDE opens with the session script already loaded:
20.4.1. IDE Controls#
The IDE provides the following controls:

Icon |
Control |
Description |
|---|---|---|
|
New |
Opens a new blank file and closes the currently open file |
|
Open |
Opens an existing file |
|
Save |
Saves the file |
|
Refresh |
Refreshes the file contents if the file has been modified by another program |
|
Edit |
Cut, Copy, and Paste |
|
Font Settings |
Adjusts font size and style |
|
Indent |
Indent right or left |
|
Run Script |
Runs the script in the current session |


20.4.2. Autocomplete#
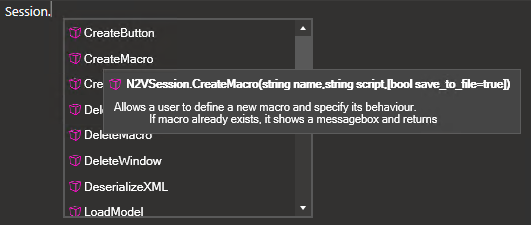
The IDE includes autocomplete for all methods and attributes available in Session and its child objects.

Method

Attribute
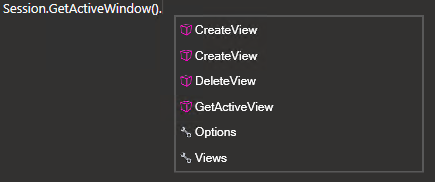
Pressing . displays a dropdown with the available methods and properties. In this example, the methods and properties are related to a Window.
Hover over a method or property name to view its documentation.
20.5. Execution of NaxToView Via Command Line#
NaxToView can be launched from the command line with optional parameters.
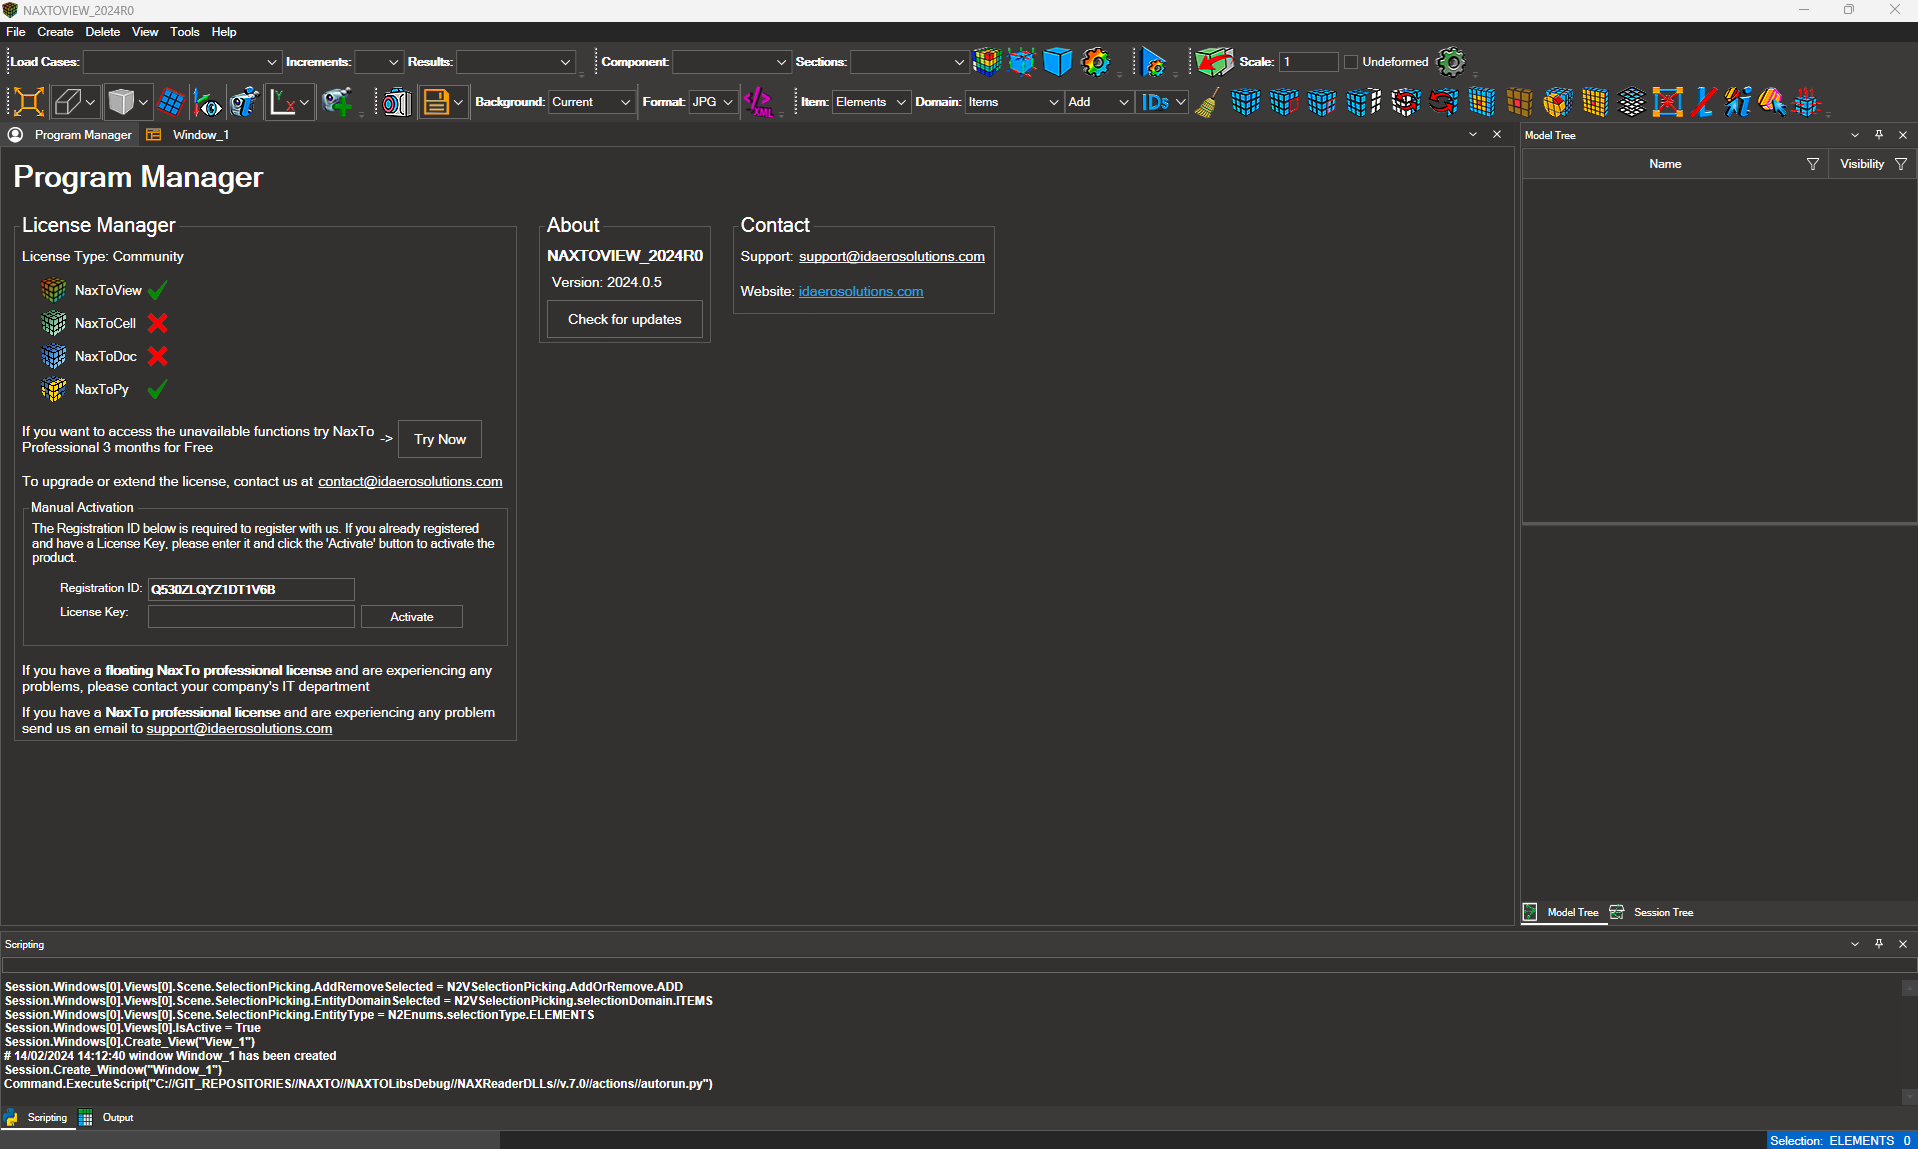
20.5.1. Basic Execution#
Navigate to the folder containing the NaxToView executable:
C:\Program Files\IDAERO\NaxTo\NaxTo_202xRx\NAXTOVIEW\bin
Run the following command:
NaxToView.exe

The result of running the executable:
20.5.2. Command-Line Parameters#
NaxToView supports the following command-line parameters. These parameters enable advanced functionality: launching with a custom interface mode, executing a script on startup, or running in the background without displaying the UI.
Parameter |
Description |
Example |
|---|---|---|
|
Display the help screen |
|
|
Display version information |
|
|
Specifies the interface to open. Accepted values: |
|
|
Specifies the script to be executed when the application starts. Provide the full path to the script file |
|
|
Controls whether NaxToView displays its interface. Default: |
|
Warning
To use --mode, the target application (Excel, Word, or PowerPoint) must already be running. If it is not open, NaxToView will fail to start.
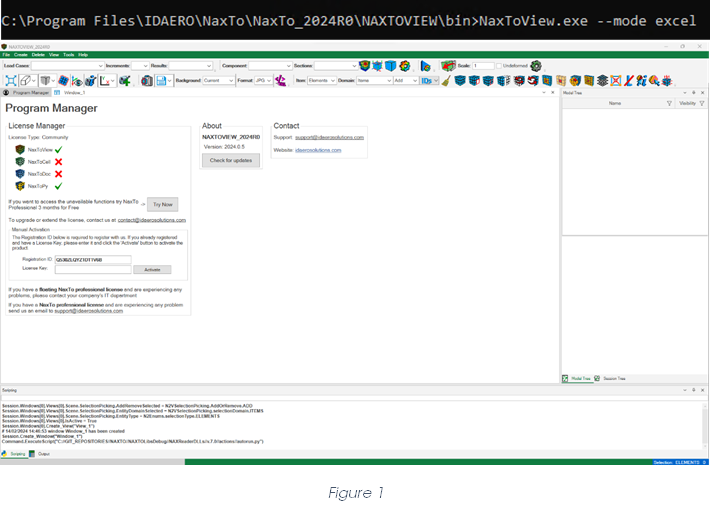
Examples#
Opening NaxToView in Excel mode:
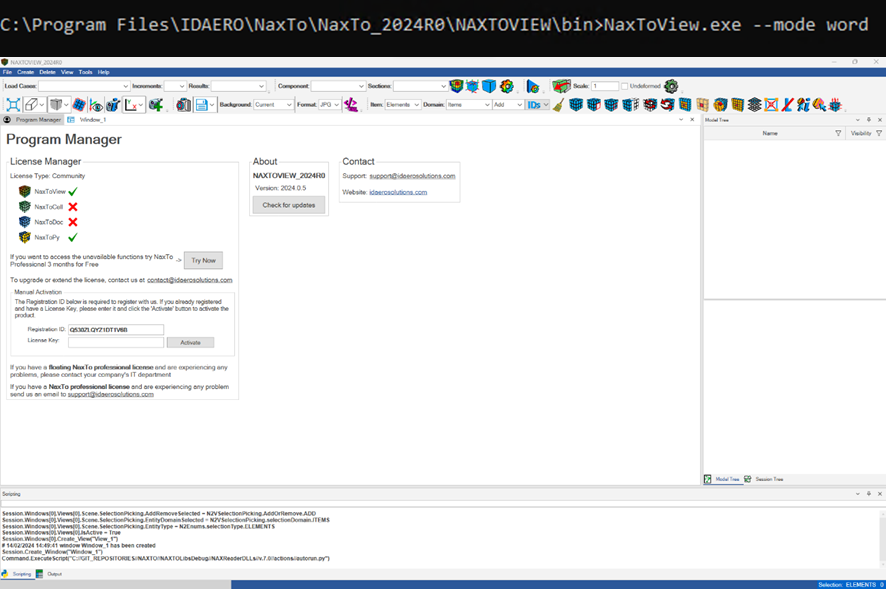
Opening NaxToView in Word mode:
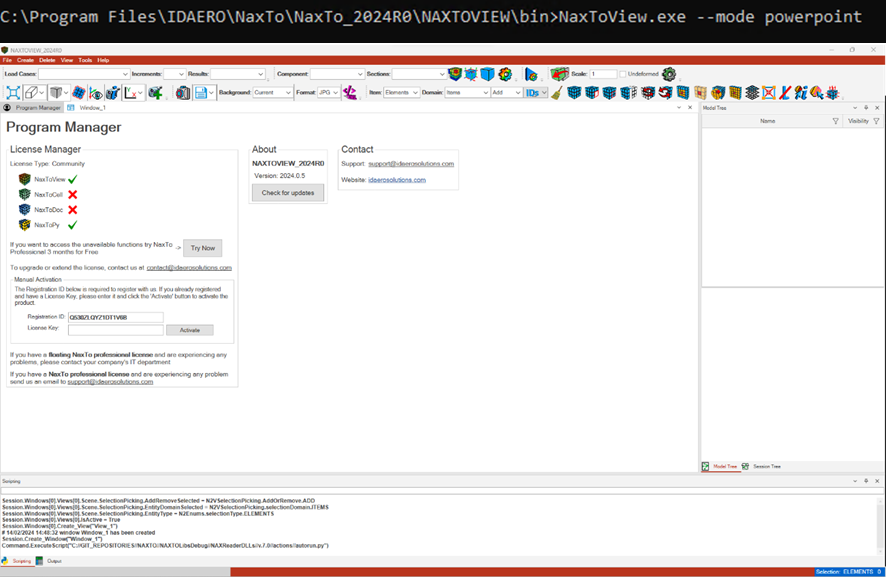
Opening NaxToView in PowerPoint mode:
Running a script on startup:

Running without visualization:

Tip
Parameters can be combined in a single command. For example, use --visualization false and --script together to run a script silently in the background. NaxToView closes automatically when the script finishes.