

20. Scripting#
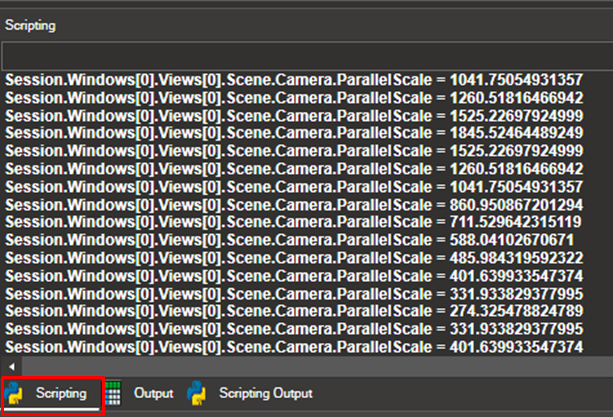
NaxToView contains an embedded Python console that allows users to execute Python commands, launch Python scripts, and execute application functions.
NaxToView includes functions designed to be executed from the scripting console.
20.1. Basic Usage#
Most actions performed in NaxToView produce the equivalent command in the scripting console.
Example: To select elements in the model:
Set Item to Elements
Hold Shift + right-click and drag to select elements
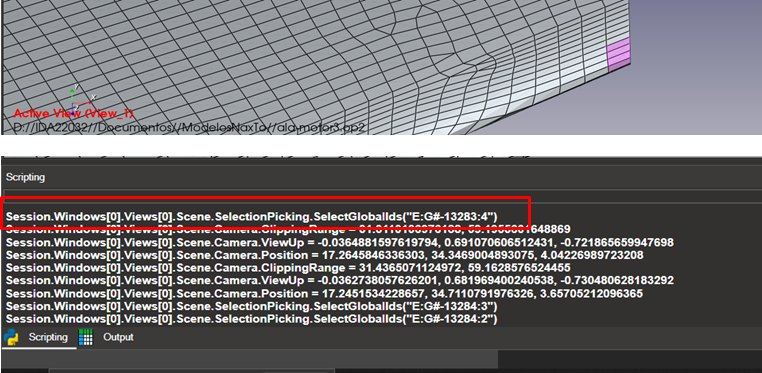
The command Session.Windows[0].Views[0].Scene.SelectionPicking.SelectGlobalIds(<…>) appears in the console. If you clear the selection and execute that command, the same elements will be selected.

The Clear button clears the scripting console output.
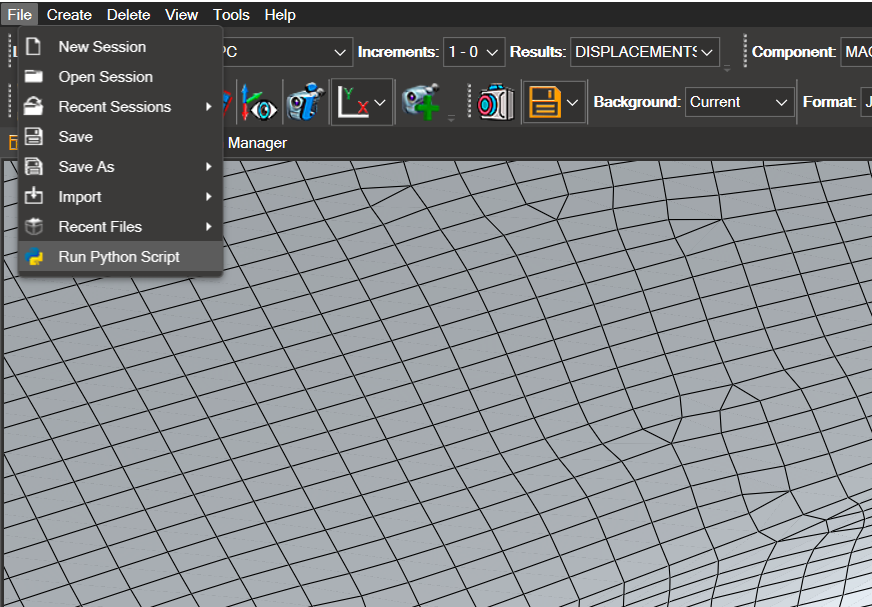
This is useful for automating tasks. More complex tasks can be executed using File → Run Python Script.
Note
If the selected elements do not appear highlighted in the viewport, the viewport has not refreshed after the scripting command. Click anywhere in the 3D viewport to force a refresh.
20.2. Application Overview#
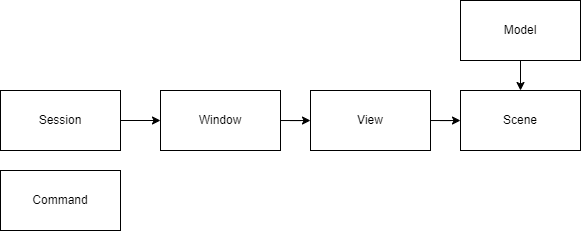
Understanding the application hierarchy is essential for using scripting methods as intuitively as the GUI.
The scripting console provides access to two scopes:
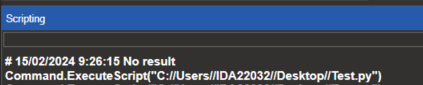
Command: Provides built-in methods for executing scripts. For example:
Session: Contains all the information and methods accessible to users
The architecture overview is as follows:
20.3. Detailed Functionality#
Loading a New Model#
Case 1: Load from a new session (i.e., NaxToView has just started)
NaxToView creates a new Window, View, and Scene to store the model. If a scene with a model already exists, the new model replaces it.
Case 2: A session with an existing model is already open. Load a model in a specific view.
Create a new view in the first window:
Session.Windows[0].CreateView("New view")
Load a model in the newly created view:
Session.Windows[0].Views[1].LoadModelFEM(r"C:\Models\wind3.op2")
Selection of Elements and Nodes#
Entities can be selected in two ways:
Global IDs (used internally by the rendering engine)
Solver IDs — always composed of a superelement (or part) and an element/node ID
ID encoding: NaxToView encodes ID ranges as strings for ease of use. The string begins with control characters:
'E'or'N'— indicating whether elements or nodes are being selected':'and'S'— for solver selection
The string begins with '#Part_<part id>@' followed by the compressed ID string. Each range is defined with :, and each group is split with ,.
Example: IDs 1, 2, 3, 6, 7, 8 would be encoded as "1:3,6:8"
The following example selects elements 34750 to 34760, and 34800 to 34806:
Session.Windows[0].Views[0].Scene.SelectionPicking.SelectGlobalIds("E:S#Part_0@34750:34760,34800:34806")
Creation of Macros#
Users can create custom macros in NaxToView. Macros execute scripts directly from the application interface.
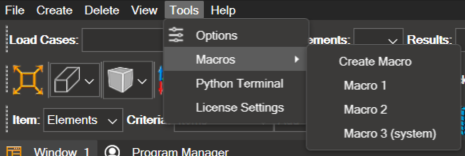
Macros can be created in two ways:
Option 1: Create from the User Interface#
Click Tools → Macros → Create Macro
In the dialog, define:
The macro name
The script to execute (either a new script or an existing script file)
Whether it should be available for all users
Click OK
The Scripting IDE opens with the script selected for the macro
Option 2: Create via Scripting#
Place the script file in the macros folder:
User-specific:
%LOCALAPPDATA%\IDAERO\NaxTo_<version>\macrosSystem-wide:
C:\ProgramData\IDAERO\NaxTo_<version>\macros
Create the macro from the scripting console:
# User-only macro
Session.CreateMacro("First macro", "Test.py")

# System-wide macro (available to all users)
Session.CreateMacro("First macro", "Test.py", system_macro=True)
This stores the new macro in macro_dict.xml so it is available on the next application launch.
Note
Script files must have the .py extension and unique names. If a macro with the same name already exists, the creation will fail.
Managing Macros#
Once created, the macro appears in the Tools → Macros menu.
Right-click the macro to delete it or open the Scripting IDE to edit it. Deleting a macro removes it from macro_dict.xml, but the associated script file remains in the macros folder.
Alternatively, manage macros via the scripting API:
Session.DeleteMacro("NameOfMacro")
Session.RenameMacro("NameOfMacro", "NewName")
Editing has no scripting call: open the script in the Scripting IDE, from the macro’s right-click menu.
To move a macro between the AppData and ProgramData folders:
Delete the macro using
Session.DeleteMacro("NameOfMacro")Move the script file to the target folder
Recreate the macro with
system_macro=Trueif moving to ProgramData
Loading Scripts on Startup#
You can define actions to execute on application startup.
Add the commands to the autorun.py script in the actions directory:
User-specific:
%LOCALAPPDATA%\IDAERO\NaxTo_<version>\actionsSystem-wide:
C:\ProgramData\IDAERO\NaxTo_<version>\actions
To execute a specific script on load, add the following to autorun.py:
Command.ExecuteScript(r"C:\path\to\script.py")
20.4. Scripting IDE#
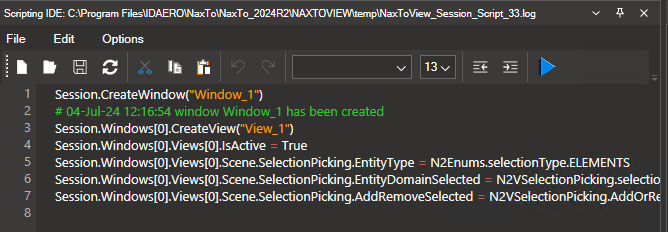
The Scripting IDE allows you to create and run Python scripts within NaxToView. Scripts can range from simple command sequences to complex automation workflows with custom interfaces and buttons.
Opening the Scripting IDE#
The IDE can be opened in three ways:
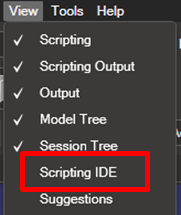
1. Via the View menu:
Click View → Scripting IDE
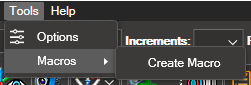
2. When creating a macro:
Click Tools → Macros → Create Macro
3. From the scripting console:
Right-click in the scripting console and select Open Scripting IDE
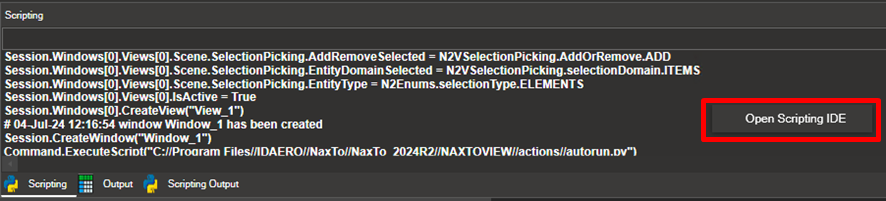
The Scripting IDE opens with the session script already loaded:
20.4.1. IDE Controls#
The IDE provides the following controls:

Icon |
Control |
Description |
|---|---|---|
|
New |
Opens a new blank file and closes the currently open file |
|
Open |
Opens an existing file |
|
Save |
Saves the file |
|
Refresh |
Refreshes the file contents if the file has been modified by another program |
|
Edit |
Cut, Copy, and Paste |
|
Font Settings |
Adjusts font size and style |
|
Indent |
Indent right or left |
|
Run Script |
Runs the script in the current session |





20.4.2. Autocomplete#
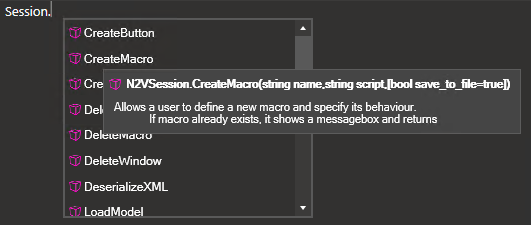
The IDE includes autocomplete for all methods and attributes available in Session and its child objects.

Method

Attribute
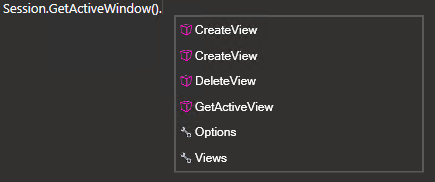
Pressing . displays a dropdown with the available methods and properties. In this example, the methods and properties are related to a Window.
Hover over a method or property name to view its documentation.
20.5. Execution of NaxToView Via Command Line#
NaxToView can be launched from the command line with optional parameters.
20.5.1. Basic Execution#
Navigate to the folder containing the NaxToView executable:
C:\Program Files\IDAERO\NaxTo\NaxTo_202xRx\NAXTOVIEW\bin
Run the following command:
NaxToView.exe

The result of running the executable:
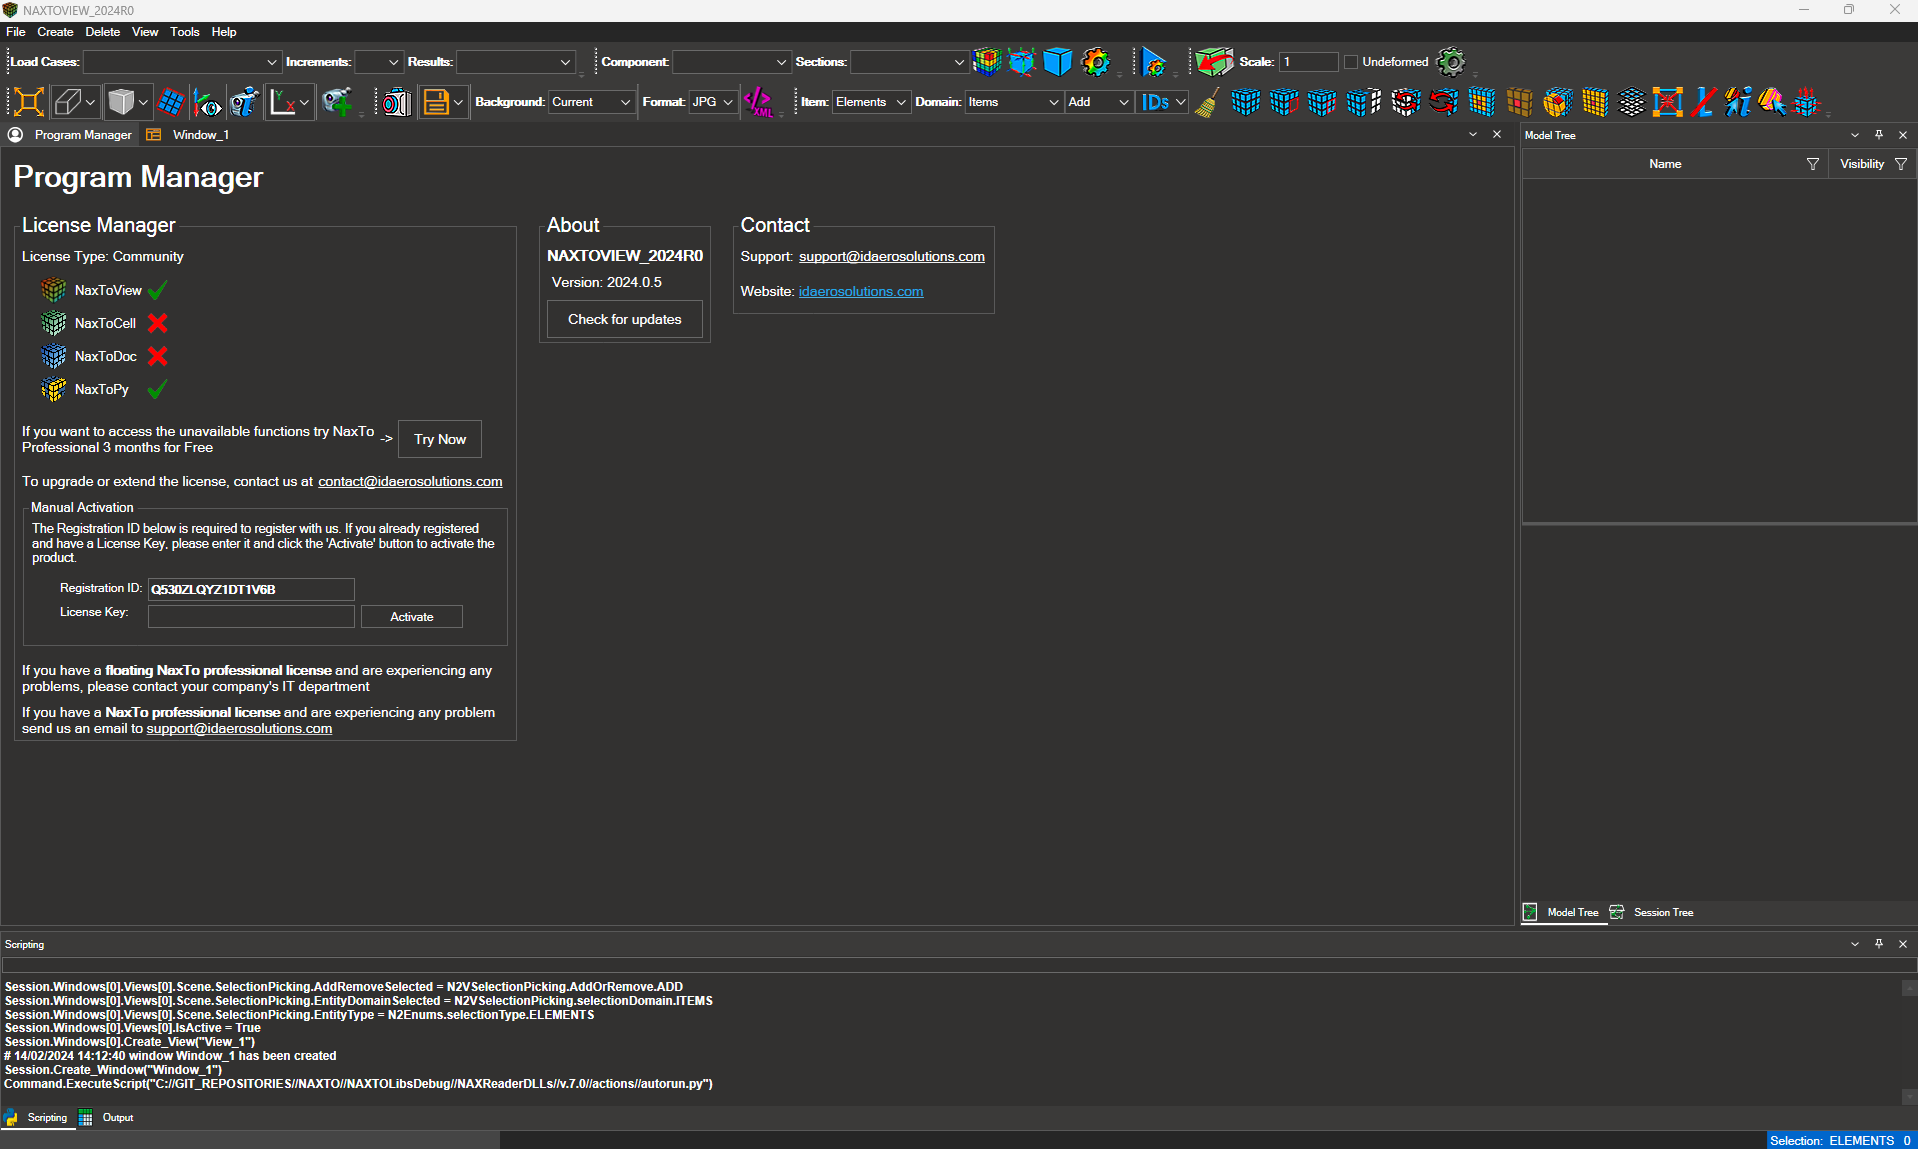
20.5.2. Command-Line Parameters#
NaxToView supports the following command-line parameters. These parameters enable advanced functionality: launching with a custom interface mode, executing a script on startup, or running in the background without displaying the UI.
Parameter |
Description |
Example |
|---|---|---|
|
Display the help screen |
|
|
Display version information |
|
|
Specifies the interface to open. Accepted values: |
|
|
Specifies the script to be executed when the application starts. Provide the full path to the script file |
|
|
Controls whether NaxToView displays its interface. Default: |
|
|
Opens a saved session ( |
|
Warning
To use --mode, the target application (Excel, Word, or PowerPoint) must already be running. If it is not open, NaxToView will fail to start.
Examples#
Opening NaxToView in Excel mode:
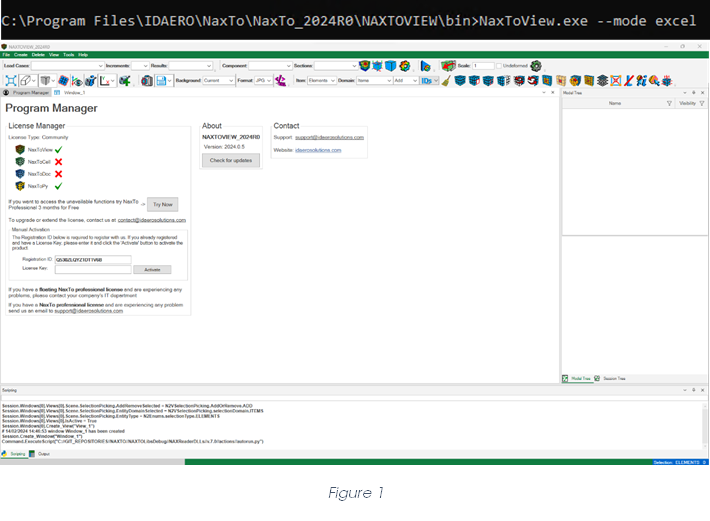
Opening NaxToView in Word mode:
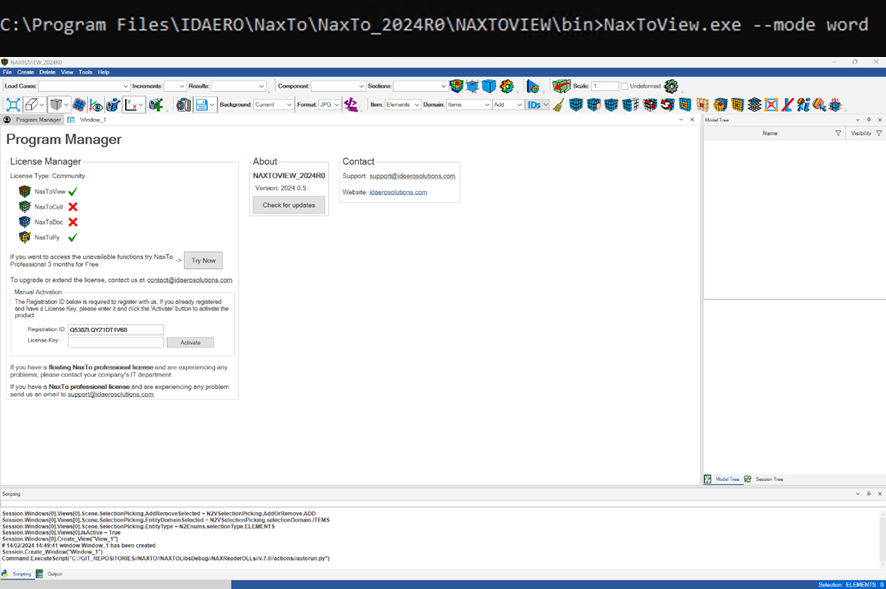
Opening NaxToView in PowerPoint mode:
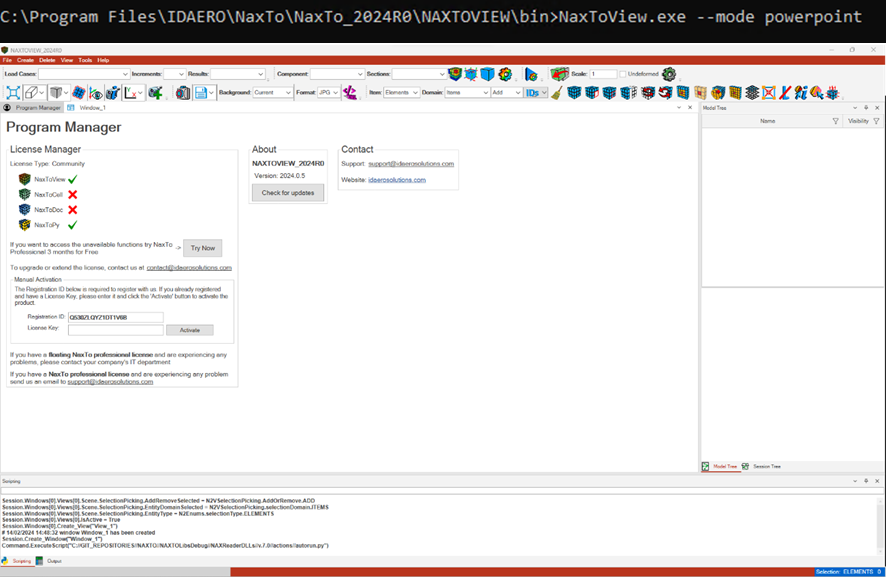
Running a script on startup:

Running without visualization:

Tip
Parameters can be combined in a single command. For example, use --visualization false and --script together to run a script silently in the background. NaxToView closes automatically when the script finishes.
20.6. The Cards API#
Cards gives the scripting console the same operations as the Card Manager, on the model of
the active view. It works whether or not the Card Manager window is open, and everything it
writes is recorded in the session, so it is replayed when the session is loaded again.
Cards.Help() prints this same summary inside the application.
20.6.1. Reading#
Command |
Returns |
|---|---|
|
The list of Bulk Data card types present in the model |
|
One card, or |
|
Every card of that type |
|
Every card of the model |
type accepts the Bulk Data name ("PSHELL") or the reader’s class name ("CardPshellNas"),
and id accepts an integer or a string.
print(Cards.Types())
card = Cards.GetById("PSHELL", 4510)
20.6.2. Filtering#
Cards.Filter(type) opens a query that is refined with Where, using the same engine as the
Card Manager’s funnels — so a filter written here and one applied in the window select exactly
the same cards.
Command |
Returns |
|---|---|
|
A query over the cards of that type, or over all of them if |
|
The query, narrowed by that criterion |
|
The cards that pass every criterion |
|
How many pass |
|
How many there were before filtering |
|
The query with every criterion removed |
|
The distinct values a position takes, which is what the funnel lists |
f = Cards.Filter("GRID").Where(1, 3, "Equals", 0)
print(f.Count(), "of", f.Total)
for card in f.Cards():
    ...
print(Cards.Filter("GRID").Domain(1, 3))
row and col are the position in the card’s ten-column table, both starting at 1 — the same
positions the Card Manager filters by. The operators are the ones the panel offers: Equals,
NotEquals, GreaterThan, GreaterOrEqual, LessThan, LessOrEqual, Contains,
NotContains, StartsWith and EndsWith, without distinguishing case. "BLANK" as the value
selects the empty cells, exactly as it does in the window.
Two criteria on the same column are joined with the connector argument — "AND" by default,
or "OR" — while criteria on different columns always narrow each other.
20.6.3. Writing#
Everything in this group is logged and persisted to the session.
Command |
Returns |
|---|---|
|
|
|
Whatever the card’s method returns |
|
How many cards were returned to their original values |
|
|
|
|
Cards.Edit("MAT1", 6, 1, 6, 0.0027)      # RHO of MAT1 6
Cards.Edit("MAT1", 6, 1, 6, "BLANK")     # empties the field
Cards.Invoke("MAT8", 24, "SetAllFailureAllowables", 1200.0, 900.0, 75.0)
Cards.Export is the command an export writes to the Scripting panel; its arguments are
described in §19.10 Model Export. It is the one entry in this group that is recorded
but not replayed when the session is loaded again: reopening a session should not write
files to disk without being asked.
Note: calling a method directly on a card object —
card.SetAllFailureAllowables(...)— writes the value but is not recorded, so it will not be replayed when the session is reloaded. UseCards.Invoke(...)for that.
20.7. Input File Reading Log#
When NaxToView loads a NASTRAN or OptiStruct input file (.bdf, .dat, .fem), the reader
records what happened while parsing it: cards it could not map, values outside their valid
range, files it could not open. This section explains how to choose what is recorded and
where it is reported.
The log describes the reading of the file, not the model itself. A model that loads with no messages is one whose every card was understood; the messages point at the lines the reader could not use.
20.7.1. Configuring the Log#
Both settings are in Tools → User Options, under the NastranOptistructInputFileLogging group.
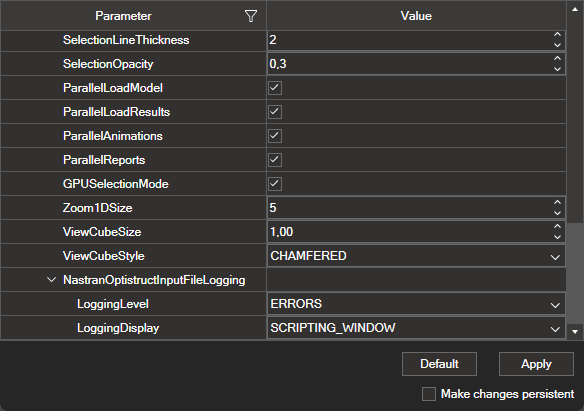
LoggingLevel — what the reader records.
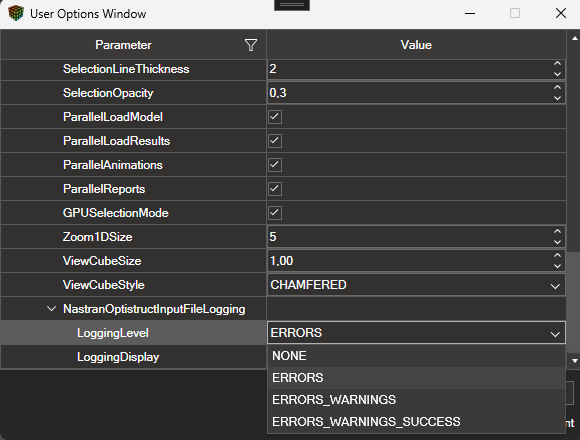
NONE: nothing is recorded and no report is produced.
ERRORS: only the cards that could not be read.
ERRORS_WARNINGS: adds the cards read with a caveat — a value out of range, a field that had to be interpreted.
ERRORS_WARNINGS_SUCCESS: adds an entry for every operation, including the ones that went well. Useful when tracing a specific file; verbose on large models.
LoggingDisplay — where the report is shown.
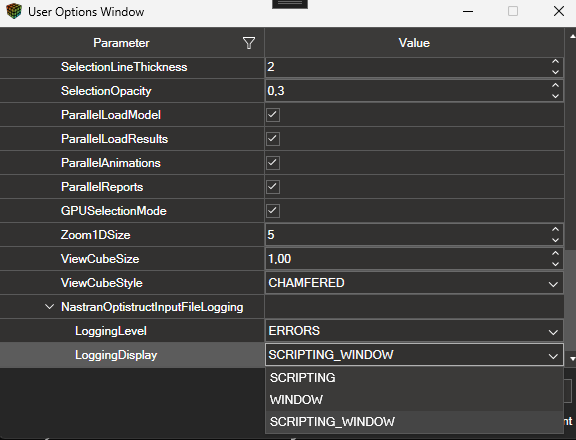
SCRIPTING: written to the Scripting panel, as commented lines.
WINDOW: opened in a window of its own, one row per entry.
SCRIPTING_WINDOW: both.
The two settings are independent, but a level of NONE produces no report regardless of the destination.
Apply puts the new setting to work at once, on the models already loaded and not only on the next one. Ticking Make changes persistent keeps it for the following sessions; without it, the setting lasts until NaxToView is closed.
20.7.2. The Report in the Scripting Panel#
The report is written as a block of commented lines, so that the session log remains valid Python and can be run again. A rule opens and closes it, so it can be told from the commands around it at a glance.
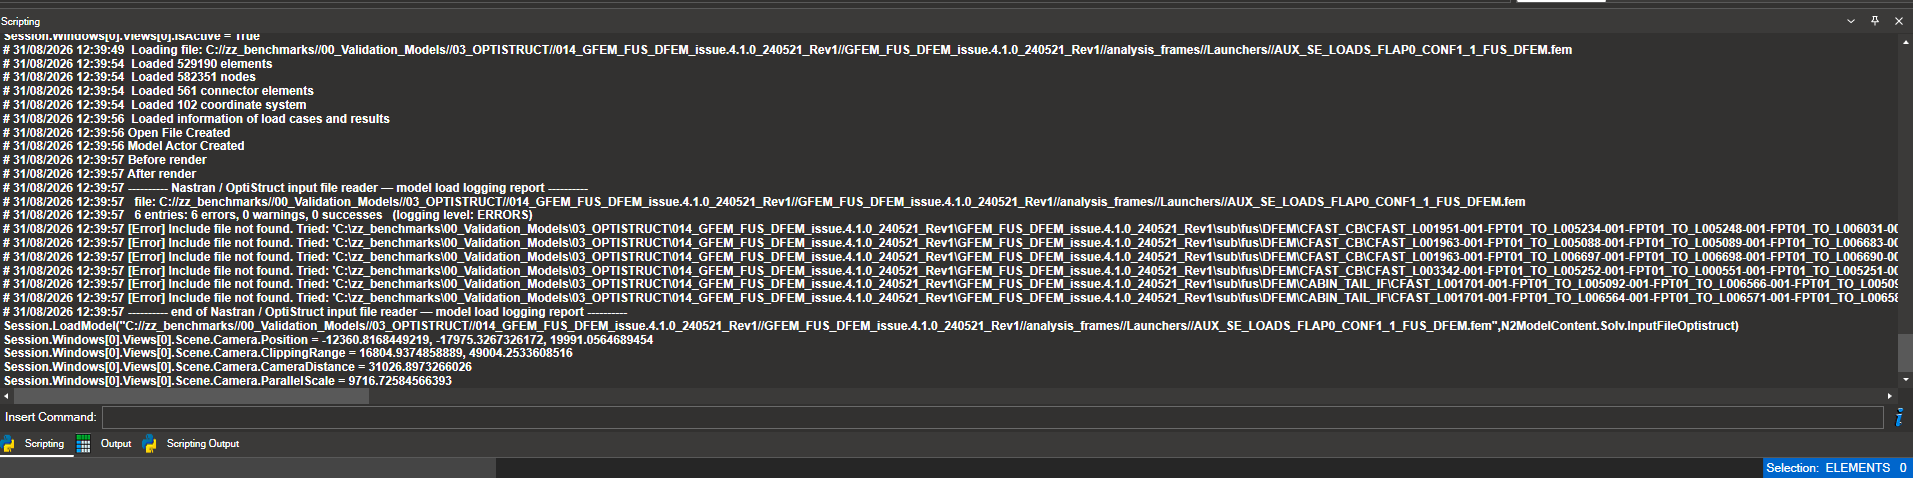
The header gives the file, the entries broken down by severity — how many errors, warnings and
successes — and the level in force. The level matters: without it, a count of zero warnings
would not distinguish there were none from they were not requested. In the figure, 6
entries: 6 errors, 0 warnings, 0 successes (logging level: ERRORS) says both that six
INCLUDE files were not found and that nothing else was being recorded.
The block is written only when the model was actually read from disk. Reusing a model already open in another view shares the same reader, and repeating the block would leave two identical reports one after the other with nothing to tell them apart.
20.7.3. The Report Window#
The window lists one row per entry, with its severity and message. It can be filtered and sorted like any other table, and its contents copied to the clipboard.
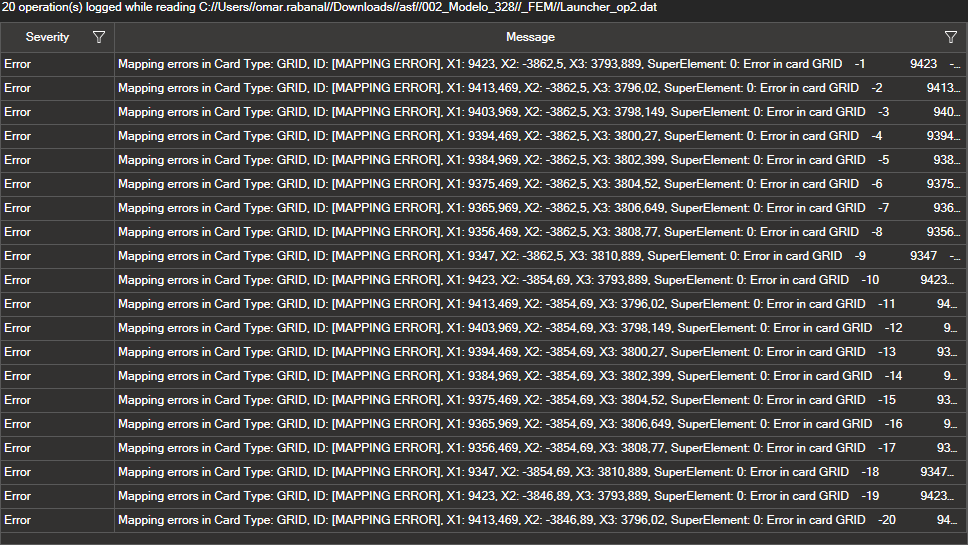
Unlike the Scripting panel, the window opens on every load, including when a model already open is reused: each load opens a fresh window instead of adding to one that already has content.
The window does not open while a Python script is running. A window appearing on its own would interrupt an unattended run — twenty models loaded from a script would leave twenty windows waiting. The Scripting panel does the opposite, because it is the scripting output: whoever launches a script expects to find there what happened while it ran.
20.7.4. Where the Log Is Kept#
The reader keeps one log per model. Tools that read or write cards — the Card Manager among them — work on that same log while they are open and restore it when they close, so the reading report survives their use and remains available afterwards.